
Streamline File Management: Enable Auto-Delete Feature for Downloads on Mac Computers
Streamline File Management: Enable Auto-Delete Feature for Downloads on Mac Computers
Key Takeaways
- Use Automator to create a Folder Action that automatically deletes old files in your Downloads folder.
- Customize when your files are deleted based on their age, such as those more than a week or month old.
- The action runs automatically whenever you download new files. It keeps the Downloads folder free from clutter without you needing to do anything.
If you download a lot of files on your Mac, you’ll need to delete the ones you no longer need regularly to avoid congesting your Downloads folder. Doing this manually can be a tedious task. Thankfully, there’s a way to automate it. Let’s show you how.
How to Create a Folder Action in Automator to Delete Downloads Automatically
Apple ships the Automator app with macOS on all its Macs. With Automator, you can automate repetitive tasks on your Mac , so you don’t have to perform them manually.
Automator supports multiple types of tasks. However, what we need for this guide is the Folder Action automation, which triggers an action every time there’s a change to a specified folder. In our case, the Folder Action will automatically delete from the Downloads folder all files and folders that are more than seven days old whenever new ones get added.
Set Up a Folder Action
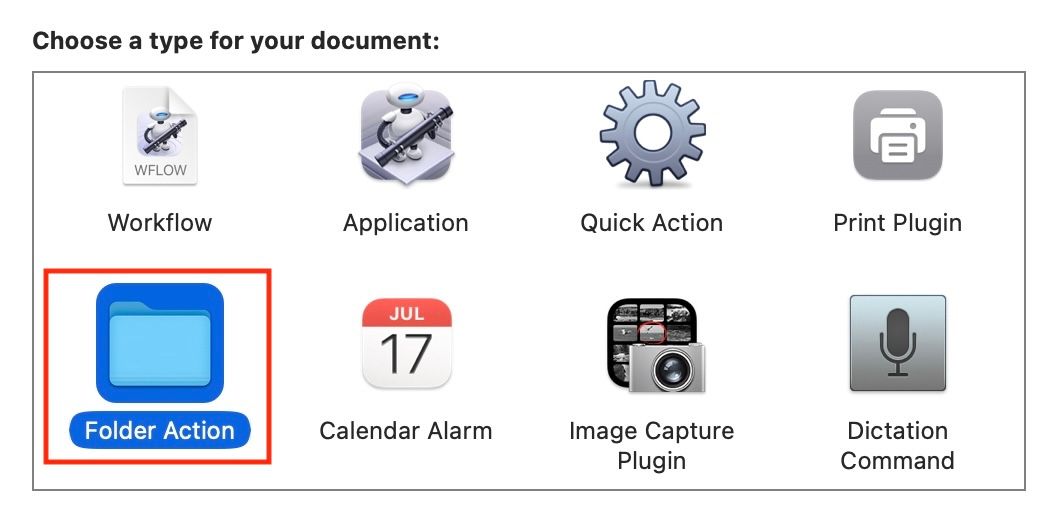
To create the Folder Action, start by launching the Automator app on your Mac. When it asks you to choose a document type, click on “Folder Action” and hit “Choose.”
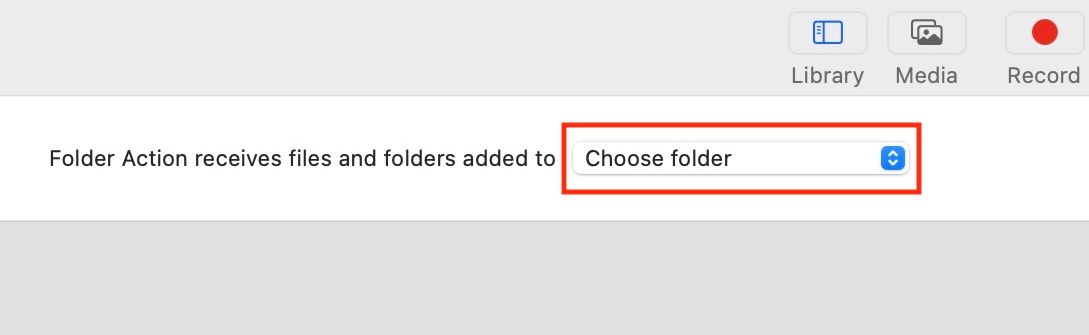
Look for a dropdown box in the rightmost pane at the top of the screen. It’ll appear next to the text “Folder Action receives files and folders added to.” Click on it and select “Other.” Then, select the “Downloads” folder in the Finder and hit “Choose.”
Find the Files to Delete
There are two ways to find your files and folders in the Downloads folder. The first method uses the “Filter Finder Items” action, whereas the second takes advantage of the “Run Shell Script” action. We’ll be using the latter, as the former doesn’t work as expected and fails to return the right files and folders.
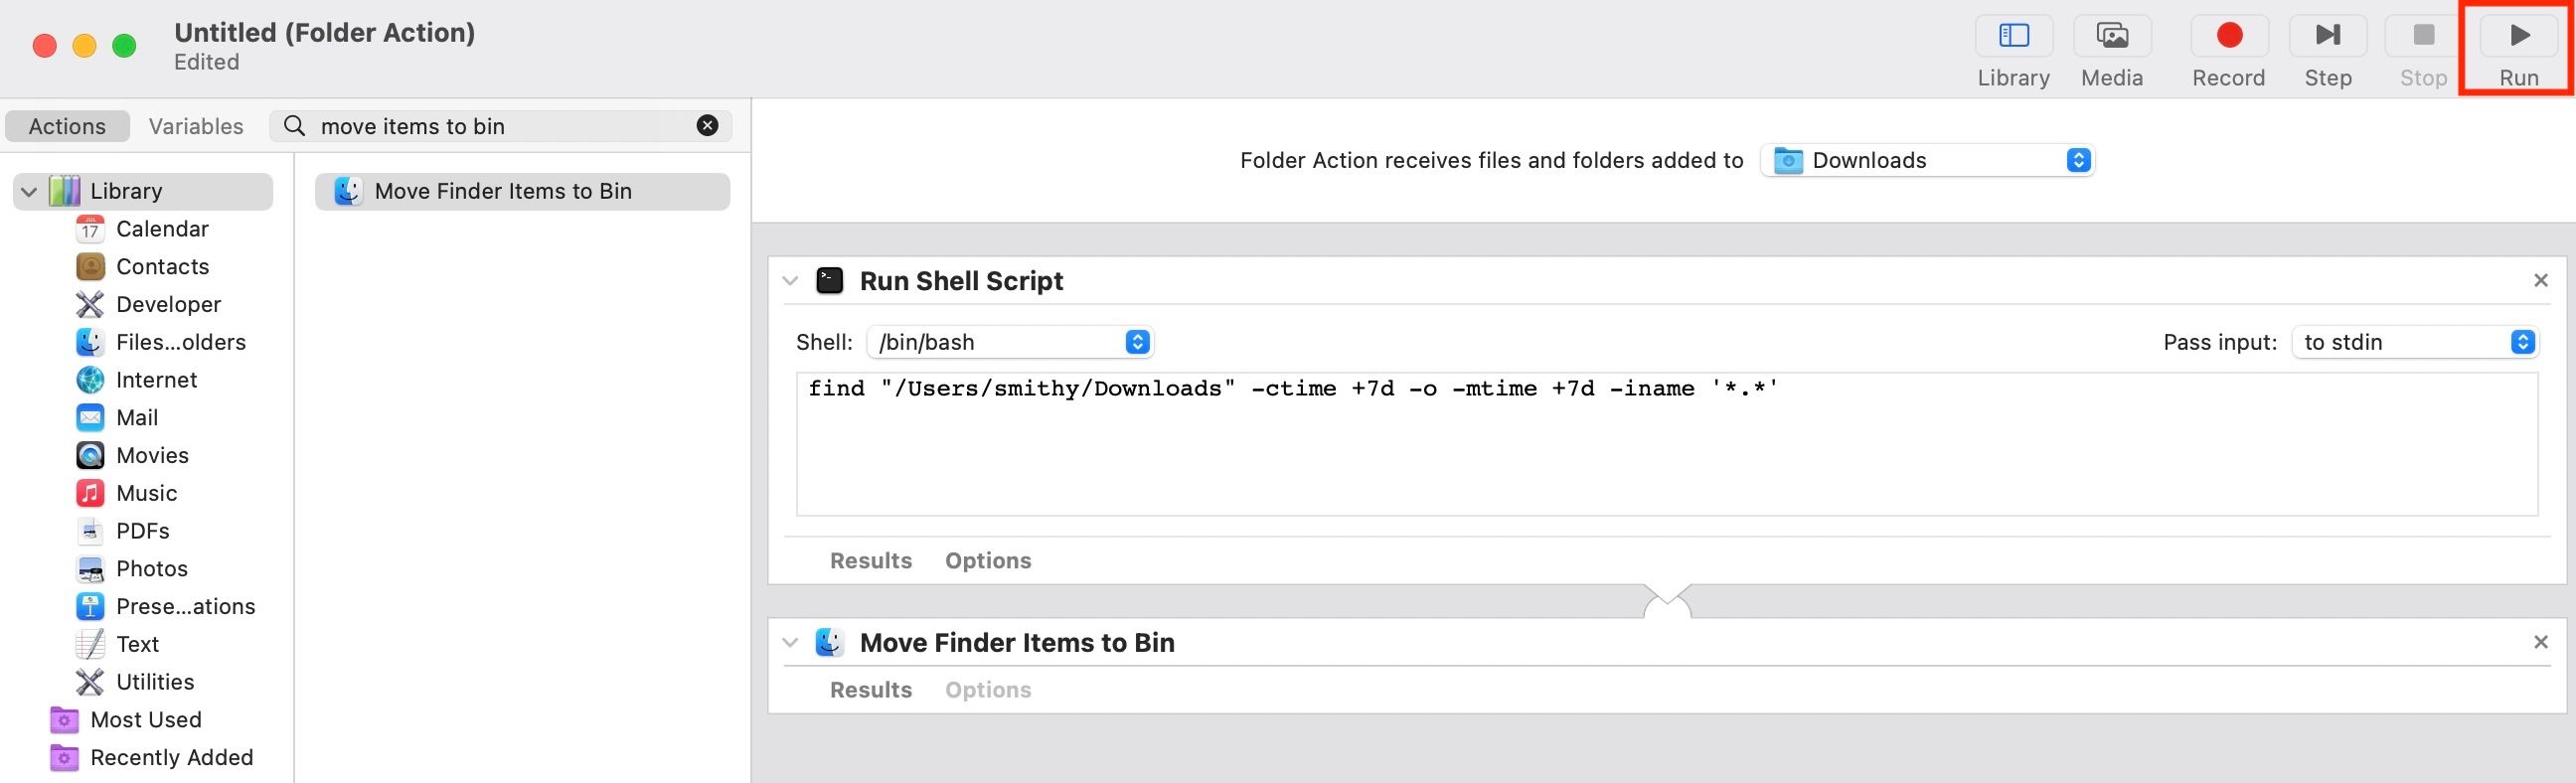
Click the search box in the middle pane and look for “Run Shell Script.” Drag this action to the right-hand pane to add it to the workflow.
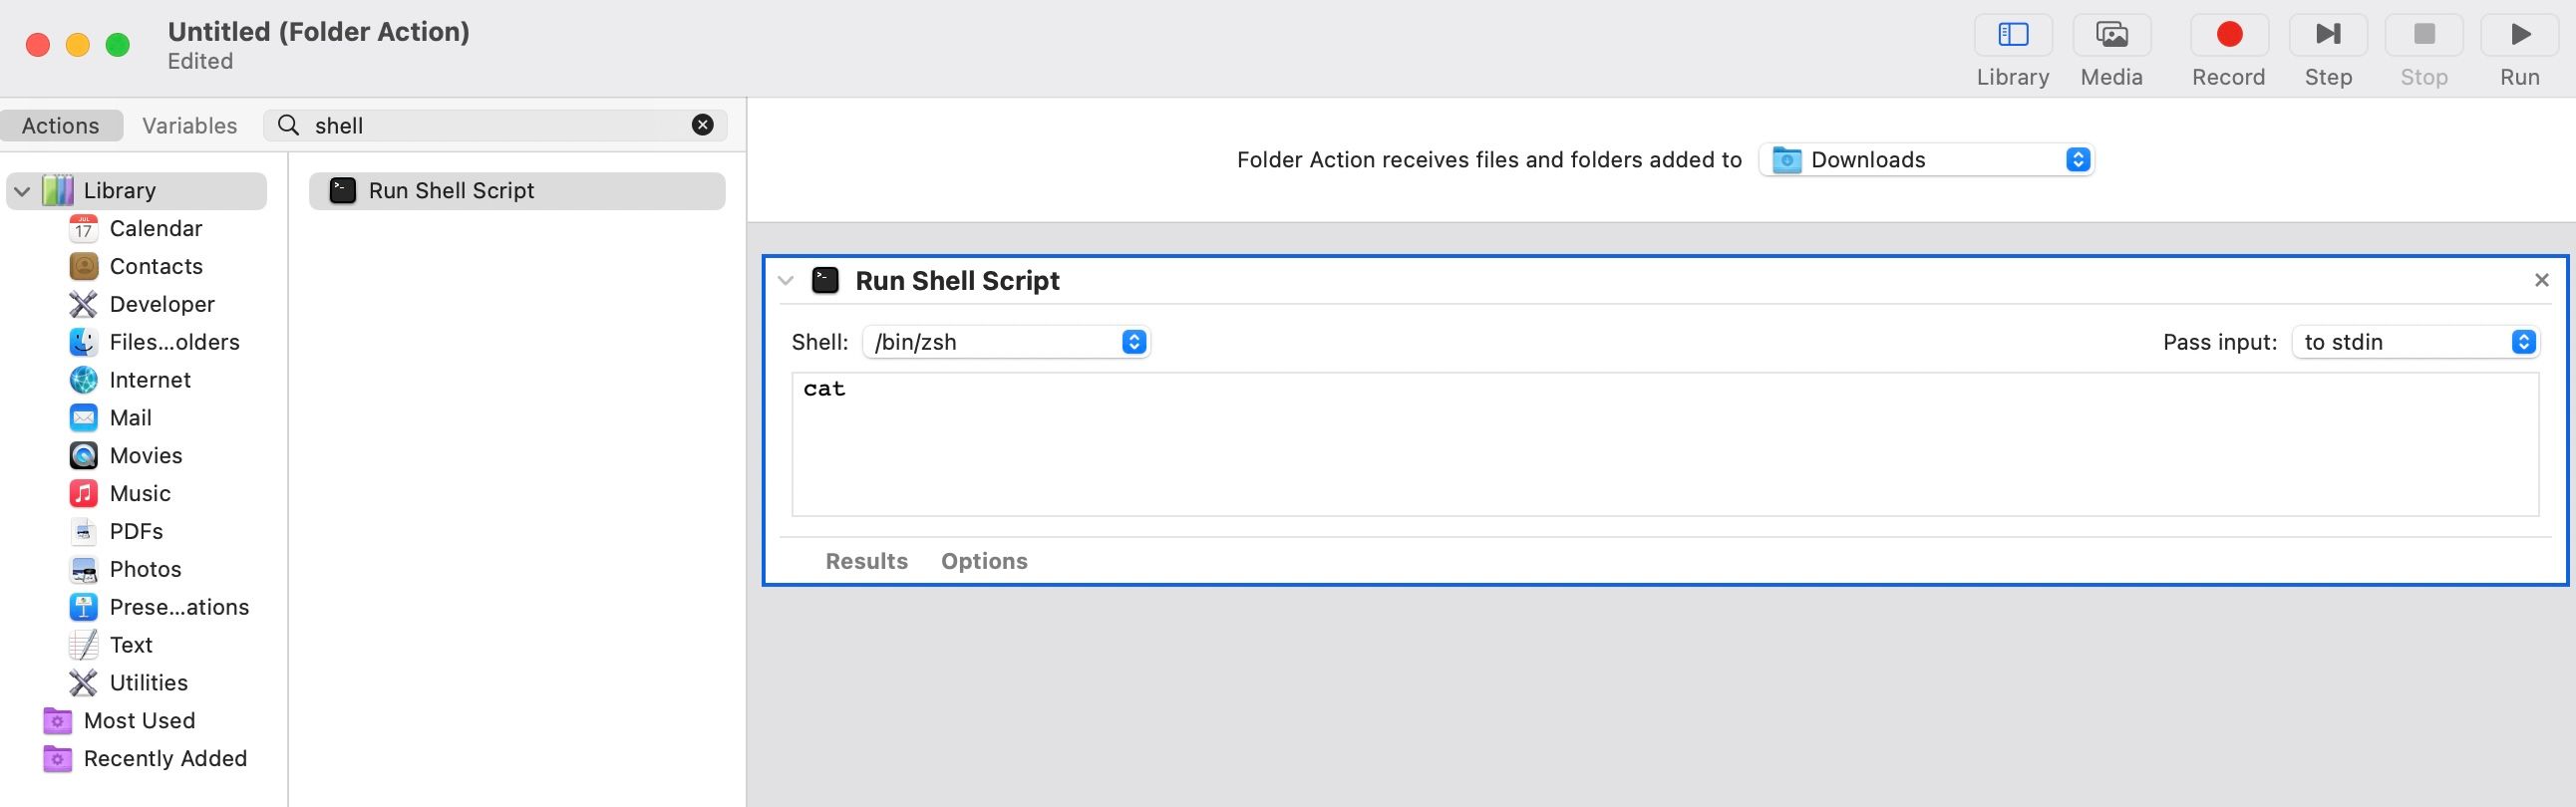
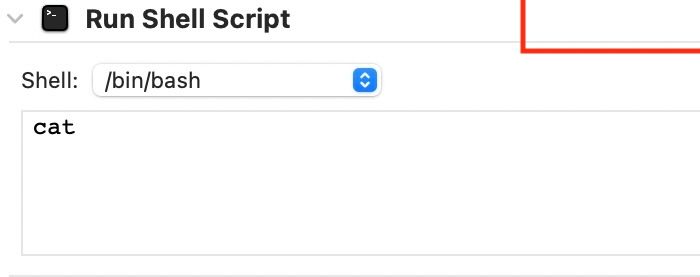
On this action, click the dropdown button next to “Shell” and select the “/bin/bash” option.
In the text box below that, enter the following command:
find “[path to Downloads directory]/Downloads” -ctime +7d -o -mtime +7d -iname ‘.‘
The command looks for files created (“-ctime”) or modified (“-mtime”) more than seven days ago (“+7d”). You can change it to whatever time frame you like. For example, changing the “-ctime” figure to “+30d” would only delete files downloaded more than a month ago.
You also need to replace [path to Downloads directory] with the path to the Downloads folder on your Mac. To find the path, open Finder, right-click on “Downloads” in the left sidebar, and select “Get Info.”
On the Downloads Info window that opens, expand the “General” section by clicking the arrow button before it.
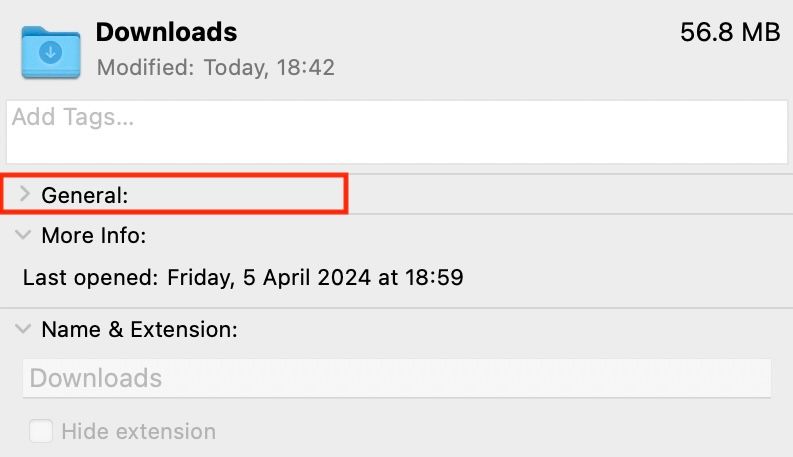
Right-click on the address next to “Where,” and select “Copy as Pathname.”
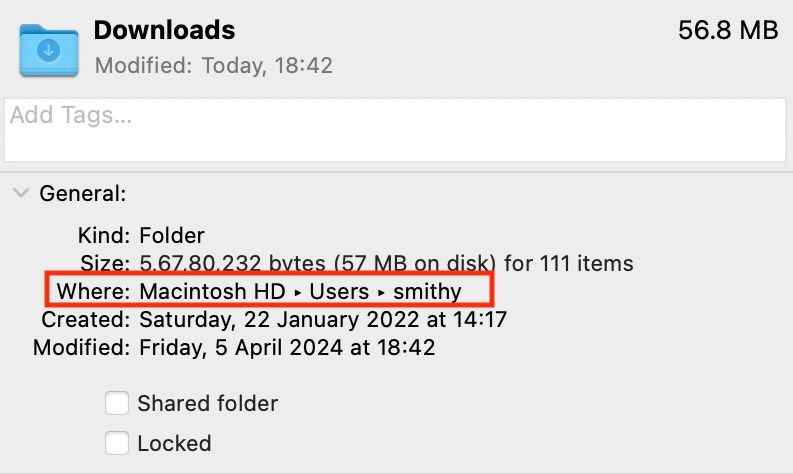
Finally, paste it into the command in Automator. Remember to ensure that /Downloads is on the end of the path. Now, click the “Run” button in the Automator window to run the workflow.
If you did everything correctly, it’ll return all the files and folders in the Downloads folder that meet your criteria. You can look at the results by clicking the “Results” tab on the Run Shell Script action.

Auto-Delete the Files
If you’re happy that it’s working, proceed to add the final action to the workflow. Search for “Move Finder Items to Trash” or “Move Finder Items to Bin” in the search box on the middle pane and drag it to the workflow area below the Run Shell Script action such that the two are linked.
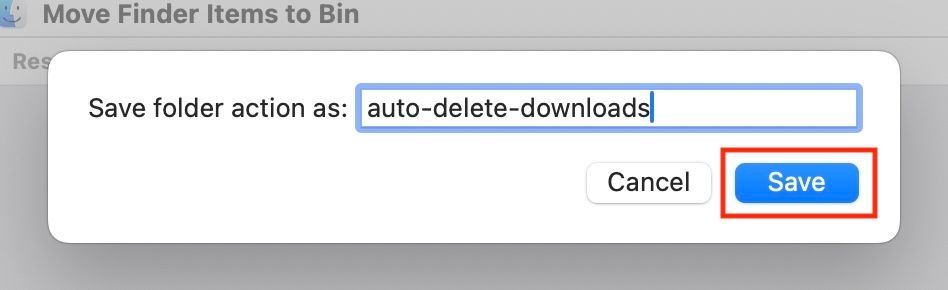
Finally, click on File > Save or press Command+S. Then, name the Folder Action and click “Save.” macOS saves all your Automator Folder Actions under the “~/Library/Workflows/Applications/Folder Actions/“ path.
Now, any time you add new files to your Downloads folder, the existing files that are more than a week old will be automatically moved to the trash.
Keep Your Trash Decluttered as Well
As the above Folder Action workflow moves files and folders from your Mac’s Downloads folder into the Trash, your Trash will likely end up with a lot of unused files and folders, and will still eat up your Mac’s storage space. However, you can avoid this by automatically emptying your Trash every 30 days.
Also read:
- [Updated] Instant Video Playback on FB Enabling Auto-Play of Youtube Videos
- [Updated] Syncopating Songs Implementing Fades in Logic Pro X
- [Updated] Ultimate Techniques for YouTube MP4 Creation
- [Updated] Unlimited Sky Storage Solutions for Your Visual Chronicles, Free & Premium
- [Updated] Unlocking PicsArt Potential with a 2024 Review & Tutorial
- 2024 Approved FFmpeg Audio Review Can FFmpeg Extract Audio in Original Format
- 2024 Approved Harnessing the Power of Gratuitous Text Animations
- 2024 Approved Unraveling Lightroom's Potential on Android Devices
- Ensuring Data Integrity Amidst Adaptive ChatGPTs
- How Can We Unlock Our Poco C65 Phone Screen?
- Les Meilleurs Converters Vidéo Gratuits Pour Windows 10 en 2023: Top 10
- Men's College Basketball Showdowns – Live From March Madness to Final Four on Airwaves.
- Say Goodbye to Arma 3 Game Freezes: Innovative Fixes & Optimization Tips Released
- Travel Film Kit The Necessary Arsenal for 2024
- Unbeatable Free Livestream Solutions Reviewed Across All Platforms for 2024
- Understanding CodeGPT - Innovative AI for Coding, but How Effective Is It?
- Understanding Spending in Online Advertising for 2024
- Title: Streamline File Management: Enable Auto-Delete Feature for Downloads on Mac Computers
- Author: Mark
- Created at : 2024-12-23 21:46:10
- Updated at : 2024-12-24 22:45:33
- Link: https://some-guidance.techidaily.com/streamline-file-management-enable-auto-delete-feature-for-downloads-on-mac-computers/
- License: This work is licensed under CC BY-NC-SA 4.0.