Guide: Redirecting PowerShell Command Results Into Files

Guide: Redirecting PowerShell Command Results Into Files
Quick Links
- Send a PowerShell Command’s Output to a Text File
- Send a PowerShell Command’s Output to a CSV File
- View Your Text or CSV File’s Contents in PowerShell
Key Takeaways
- To save a PowerShell command’s output to a TXT file, type the command, press Spacebar, type the > (greater than) symbol, press Spacebar, and type the full path to the TXT file.
- To generate a CSV file from a PowerShell command, type your command, press Spacebar, type the | (pipe) sign, press Spacebar, type “Export-CSV”, press Spacebar, enter the full path to the CSV file, press Spacebar, type “-NoTypeInformation”, and press Enter.
Do you want to save your PowerShell command’s result in a TXT (text) or CSV (comma-separated values) file on your computer? If so, it’s easy to do, and we’ll show you how on your Windows 11 or Windows 10 PC.
Send a PowerShell Command’s Output to a Text File
To write your PowerShell command’s output to a text (TXT) file, first launch a PowerShell window . Here, type whatever command you need, the output of which you want in a text file. After you’ve typed the command, press Spacebar, type the > (greater than) symbol, press Spacebar, enter the full path to the text file where you want to save the output, and press Enter.
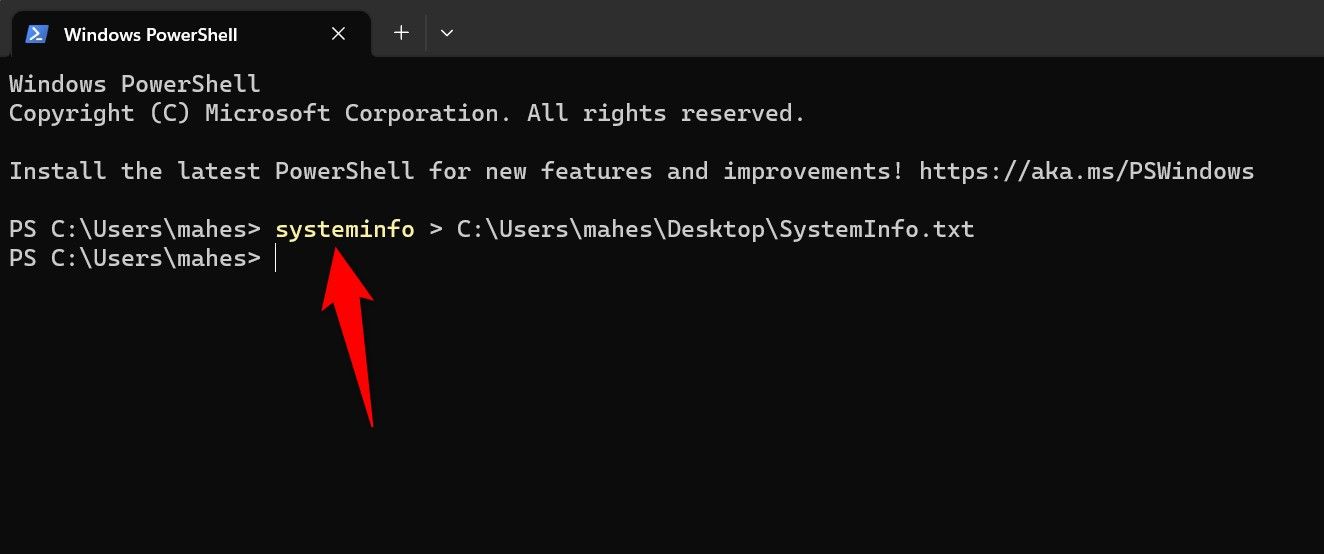
For example, if you want to save the “systeminfo ” command’s output to a file named “SystemInfo.txt” on your desktop, your command will look something like the following:
systeminfo > C:\Users\mahes\Desktop\SystemInfo.txt

As soon as you press Enter, PowerShell creates your specified file and adds your command’s result to it. When that’s done, access your specified path, and you’ll find your newly created file there.
Send a PowerShell Command’s Output to a CSV File
If you want to create a CSV file containing the output of your specified PowerShell command, use the tool’s “Export-CSV” cmdlet .
To do that, launch PowerShell. Here, enter your command (the results of which you want in a CSV file). Then, press Spacebar, enter the | (pipe) sign, press Spacebar, enter “Export-CSV”, press Spacebar, enter the full path to the CSV file you want to create, press Spacebar, type “-NoTypeInformation”, and press Enter.
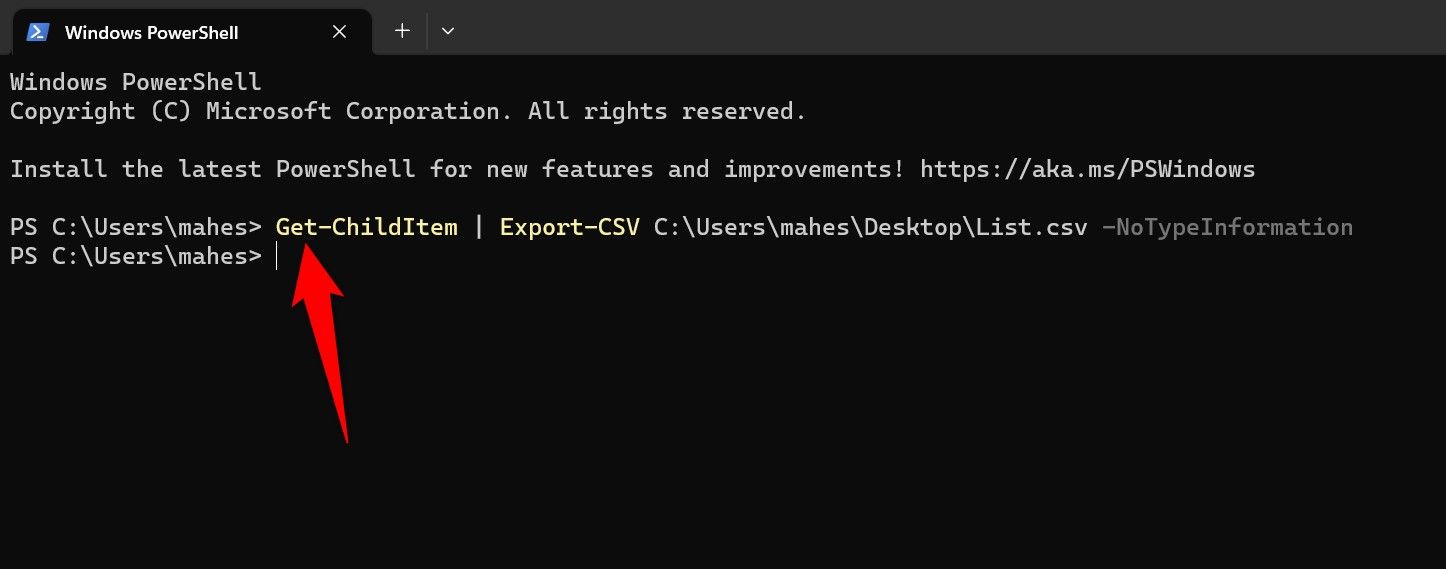
For example, if you want to save the current directory’s item list in a file called “List.csv” on your desktop, you’d use a command that looks like the following. Note that the “NoTypeInformation” parameter here tells the command not to include the #TYPE information header in your CSV file.
Get-ChildItem | Export-CSV C:\Users\mahes\Desktop\List.csv -NoTypeInformation

When you’ve finished running the command, you’ll have a file called “List.csv” on your desktop containing the list of the items in your current directory.
View Your Text or CSV File’s Contents in PowerShell
You can view your newly created text or CSV file’s contents right inside PowerShell. You don’t have to leave the tool and use another app to open your files.
To do that, open a PowerShell window, type the following command, replacing “PATH” with the full path to your text or CSV file, and press Enter.
Type PATH
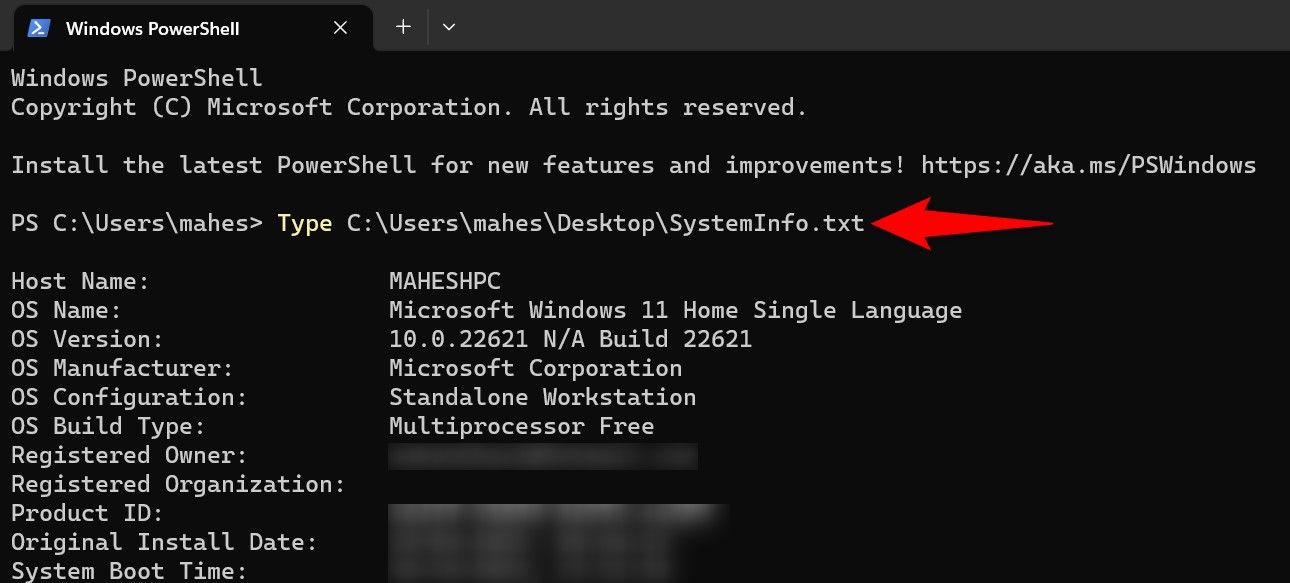
For example, if you want to read the contents of a file named “SystemInfo.txt” placed on your desktop, you’d use the following command:
Type C:\Users\mahes\Desktop\SystemInfo.txt

Instantly, PowerShell will load your file’s contents in your open window, allowing you to read the file content.
And that’s all there is to know about saving your PowerShell command results in text or CSV files. Enjoy!
Also read:
- [New] 2024 Approved Full Examination of Razer Kiyo Cam
- [New] 2024 Approved Spotting Blocked Contacts in Snapchat
- [New] Swiftly Fix Red Eyes in iPhone Photography at No Cost
- [New] The Ultimate Affordable ASMR Experience Awaits
- In 2024, Here are Some Pro Tips for Pokemon Go PvP Battles On Honor Magic 6 Lite | Dr.fone
- In 2024, IPhone/Android Edition Find the Best 8 Multimedia Editing Tools
- In 2024, Leveraging S2T Technology in Professional Decks
- In 2024, Top Podcast Streaming Trick - Quick Play Upgrade
- Intellectual Edge Trivia Challenges 2024
- Spoofing Life360 How to Do it on Oppo Reno 9A? | Dr.fone
- Title: Guide: Redirecting PowerShell Command Results Into Files
- Author: Mark
- Created at : 2024-12-20 20:01:06
- Updated at : 2024-12-24 19:21:10
- Link: https://some-guidance.techidaily.com/guide-redirecting-powershell-command-results-into-files/
- License: This work is licensed under CC BY-NC-SA 4.0.